In this article, I want to share my experience with the mid-journey image generation tool, providing a quick guide on how to write Midjourney prompts and create stunning images.

I will cover every aspect, including character creation, hyper-realistic photography, logo design, understanding parameters, and advanced promoting techniques.
This guide aims to equip you with the knowledge and skills needed to master mid-journey image generation and unleash your creative potential.
1. Single-word prompts and emojis
To illustrate just how simple it can be to get started with mid-journey, let me share a quick example of generating images using single-word prompts.
By merely typing a concept or adding an emoji, you can create unique and vivid images. I experimented with various prompts, such as adding “excited” & “cyberpunk”, and discovered that it led to engaging outputs.


2. Celebrities
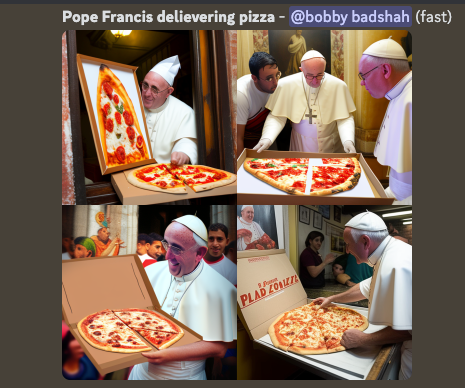
A fun fact about the mid-journey image generation tool is its remarkable ability to replicate celebrities, particularly with version five.
You might have seen the viral “Pope Francis delivering” image recently, which demonstrates just how easy it is to create cool and impressive visuals using this tool.
3. Style, artist, and medium examples
By understanding how to manipulate prompts and styles, you can unlock the full potential of this powerful tool and produce stunning visuals.
One of the key factors in achieving specific results with mid-journey is adding tags to your prompts, separated by commas. For instance, if you want to create an image of a fox in a mountain landscape, you can add a style tag at the end to refine the output.
If you prefer, instead of choosing a generic style, you can use a specific artist’s name in your prompt, and the tool will replicate their signature style. You can even experiment with more unusual mediums, as the tool is capable of recognizing and replicating some relatively obscure artistic techniques. We will go through some examples below on how to achieve the desired results
4. Parameters
I want to delve into the parameters of the mid-journey image generation tool, which can unlock new levels of creativity and control when creating stunning visuals. Though it may seem overwhelming at first, understanding these parameters and applying them in your creative process will become second nature with practice.
We’ll be designing a single image that incorporates all of the specified parameters outlined below. But before diving in, let’s take a moment to briefly review the elements we’ll be using in our creation.
- Aspect Ratio (–ar): This parameter defines the width-to-height ratio of the generated image. The default is a square (1:1), but you can change it to any desired ratio, such as 16:9 for TV and computer monitors or 3:2 for photography. To use this parameter, type “–AR” followed by the desired ratio.
- Stylization (–s): This parameter ranges from 0 to 1000 and determines the strength of the
Midjourney’s default aesthetic style. Lower values produce images that closely match the prompt but are less artistic, while higher values create more artistic images that may be less connected to the prompt. Use “–s” followed by the desired value. - Quality (–q): This parameter affects the level of detail in the image and can be set to 0.25, 0.5, or 1. Higher values result in more detailed images but take longer to generate. Use “–q” followed by the desired value.
- Chaos(–c): Ranging from 0 to 100, this parameter determines the variation in generated images. Higher values produce more unusual and unexpected results. Use “–chaos” followed by the desired value.
- Negative Prompting (–no): Use this parameter to exclude certain elements from the generated image. For example, using “–no plants” will attempt to create an image without plants. This parameter can produce mixed results.
- Prompt Weights and Multi-Prompting: By adding “::” between parts of a prompt, you can instruct mid-journey to consider each part separately. The prompt hot dog is not equal to hot::dog
Adding a number after the colons assigns relative importance to that part of the prompt.
For example, “hot::2 dog” will prioritize the “hot” aspect twice as much as the “dog” aspect. I:e very very hot dog
By mastering these parameters and applying the principles of habit formation and continuous improvement, you can refine your skills with mid-journey image generation and create an impressive array of stunning visual content.
Check out the result below where we tried to use all the parameters mentioned above in a meaningful way
/imagine a submarine photograph::2 school bus --ar 2:3 --s 50 --q 0.75 --c 40 --no plants 
5. Hyperrealistic photography
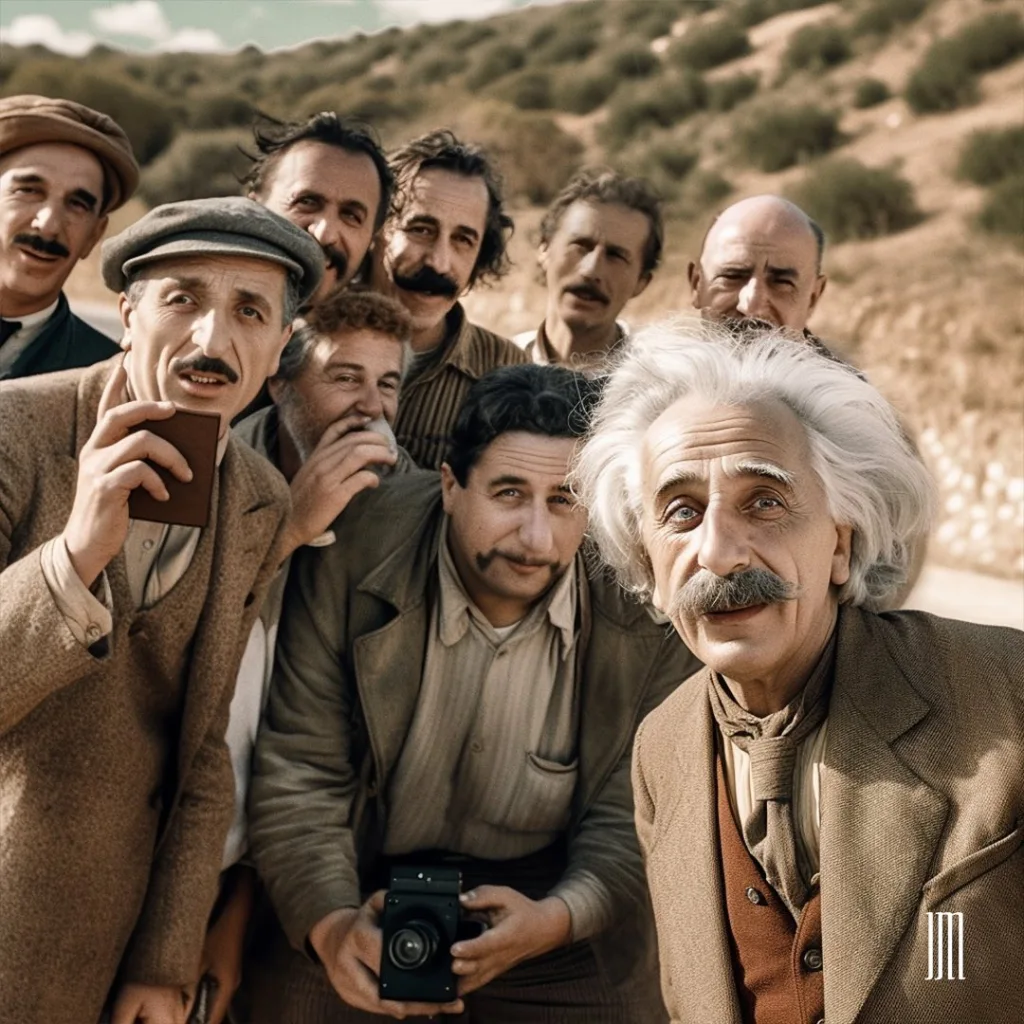
The remarkable capabilities of mid-journey image generation, particularly version five, in creating hyper-realistic photography. By understanding how to manipulate prompts and parameters, you can generate stunning visuals that mimic the work of professional photographers.
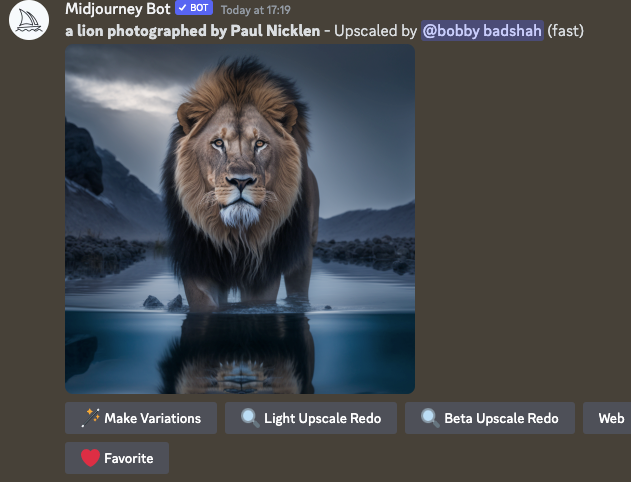
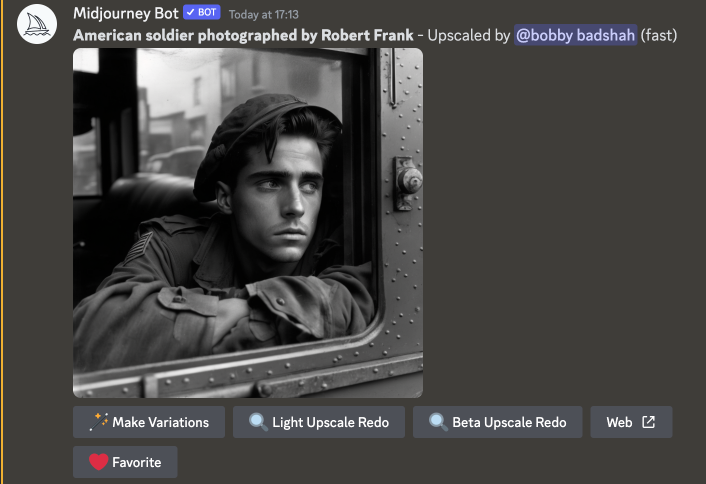
One simple approach to generate photographic images using mid-journey is by specifying the name of a photographer known for their signature style. For example, you can prompt “an American soldier photographed by Robert Frank” or “a lion photographed by Paul Nicklen.” Adding aspect ratios of 2:3 or 3:2 can also enhance the composition, as these are the default ratios for DSLR cameras.
To create more precise and customizable images, consider using a flexible format that includes different fields, such as the type of photography, lighting, and angles. Experimenting with these fields will yield various outcomes and moods in the generated images.
Some examples of impactful fields include:
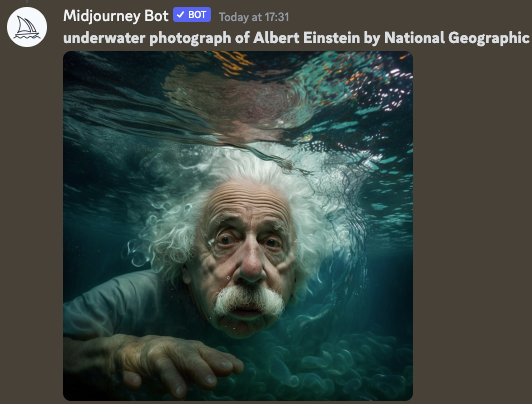
- Type of Photography: Changing this field alone can create vastly different results. Experiment with various photography styles, such as macro, underwater, or satellite, to achieve unique visuals. (check out the image below for an underwater example)
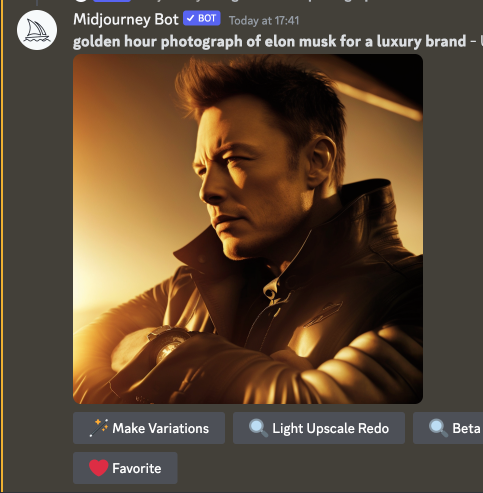
- Lighting: The choice of lighting has a significant impact on the mood and emotion of an image. Try experimenting with various lighting techniques to see how they affect your generated photographs. for eg golden hour effect
As you continue to explore and adjust the parameters, it’s essential to think like a photographer.
Consider the emotions you want to capture, and how factors like pose, angle, and lighting contribute to the overall mood. With practice and a deep understanding of mid-journey image generation, you can create stunning, hyper-realistic photographs that truly capture the essence of your artistic vision.
6. Logo creation
While mid-journey is not well-suited for generating text, with the right approach and some post-processing, you can create impressive logos that reflect your brand’s unique identity.
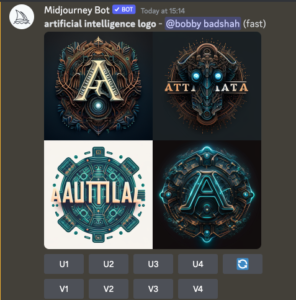
To begin, you can simply prompt mid-journey to “create a logo for this type of company” and regenerate until an appealing design emerges. For example, using the prompt “artificial intelligence logo” can yield a variety of intriguing logo designs.
However, if you want more control and guidance in the logo creation process, consider using the name of a logo designer whose work you admire.
Prompts that include well-known designers, such as Milton Glaser, can produce remarkable results. Additionally, you can experiment with other designers to find a style that resonates with your brand.

Remember, mid-journey isn’t quite proficient in generating text, so you might need to bring in some text elements afterward using nifty tools like Photoshop, Canva, or Photopea.
When you merge the amazing capabilities of mid-journey image generation with your very own post-processing finesse, you’re bound to craft eye-catching logos that embody the true spirit of your brand. Trust me, your brand will thank you for it! ✨
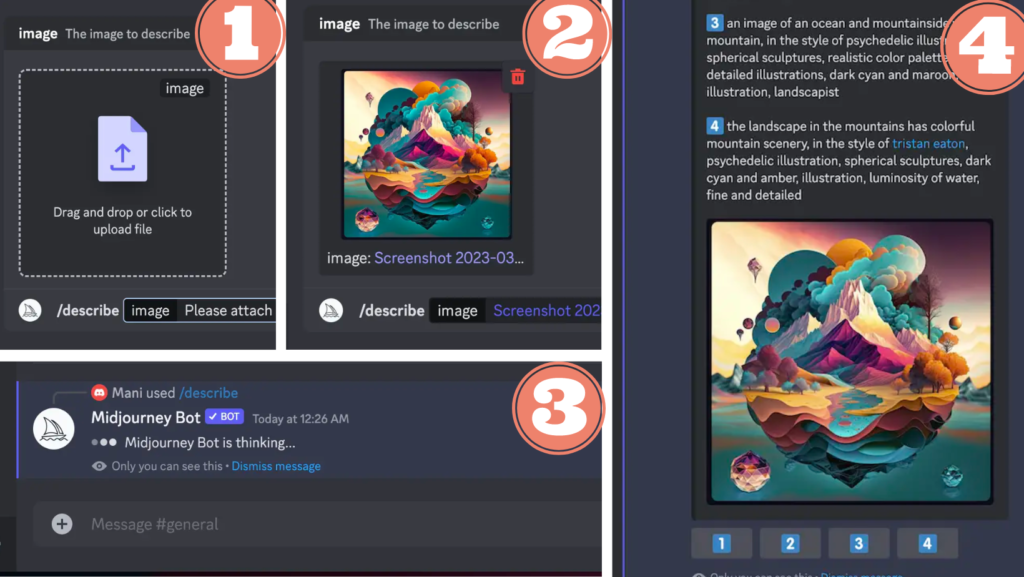
7. /describe command
One useful feature recently introduced in mid-journey is the “describe” command.
This allows you to upload your own image, and the system will generate four prompt ideas based on the content of your image.
You can edit these prompts before submitting them, often resulting in better and more interesting images than the original. This feature is not only fun to experiment with but also an excellent way to get fresh ideas for your prompts.
Additionally, you can browse the explore tab on the mid-journey website to find intriguing images and prompts. Scrolling down, you’ll find related images, complete prompts, and parameters.
Clicking “copy full command” allows you to paste the entire prompt and parameters into Discord to generate a new image. Alternatively, you can save an image from the explore tab, use the “describe” command, and draw inspiration from the generated prompts for your own creations.
Conclusion
In conclusion, continuously discovering and experimenting with new prompts and sources of inspiration can significantly enhance your mid-journey image generation experience. As you broaden your creative horizons, you’ll unlock the full potential of this powerful tool and create truly captivating visuals.
More Resources
- Style and artist guide – https://www.midlibrary.io/
- Midjourney guides – https://docs.midjourney.com/docs
- Color guide – https://discord.com/channels/66226797…
- Prompt helper – https://prompt.noonshot.com/
2 thoughts on “How to write Midjourney prompts: Quick guide”